TB3_Autorace之信号灯检测

利用blob算法对信号灯进行提取检测,控制TB3完成对信号灯的起停动作!
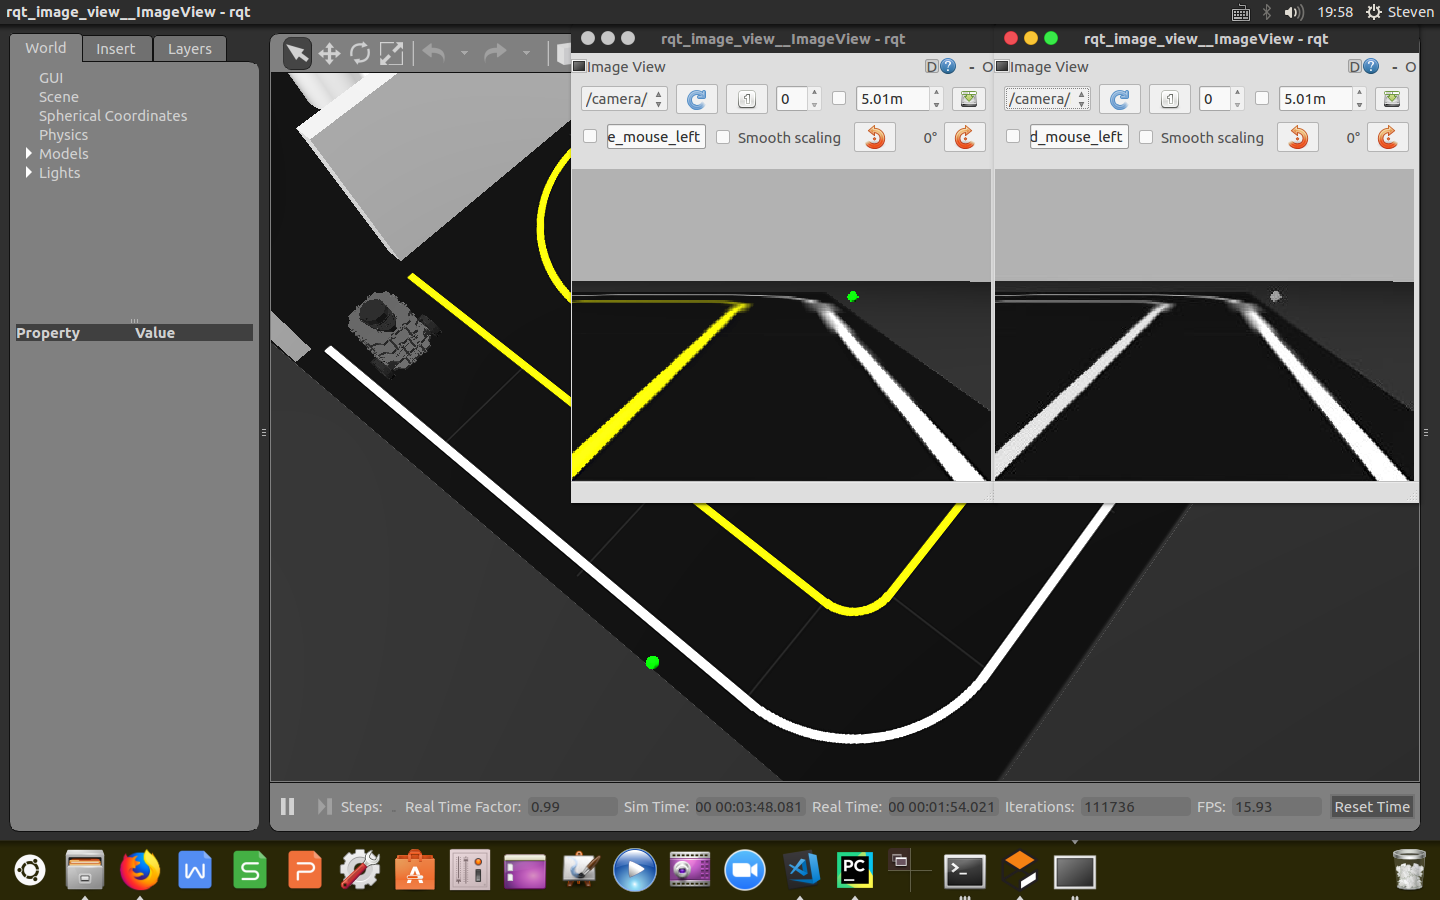
0

读书须有胆识,有眼光,有毅力,
胆识二字拆不开,要有识必敢有自己意见,即使一时与前人不同亦不妨,
前人能说得我服,是前人是,前人不能服我,是前人非,
人心之不同如其面,要脚踏实地,不可舍己来云人
        ——林语堂

订阅话题

同车道线检测《TB3_Autorace之车道线检测》程序一样,我们这里接收未经透视变换的原始图像信息/camera/image_compensated以及信号灯检测结束信号/control/traffic_light_finished

1
2
3
4
5
6
7
8
9
if self.sub_image_type == "compressed":
# subscribes compressed image
self.sub_image_original = rospy.Subscriber('/detect/image_input/compressed', CompressedImage,
self.cbGetImage, queue_size=1)
elif self.sub_image_type == "raw":
# subscribes raw image
self.sub_image_original = rospy.Subscriber('/camera/image_compensated', Image, self.cbGetImage, queue_size=1)
self.sub_traffic_light_finished = rospy.Subscriber('/control/traffic_light_finished', UInt8,
self.cbTrafficLightFinished, queue_size=1)

发布话题

发布检测到的红黄绿三色信号灯信息/detect/image_output_sub、检测开始信号/control/traffic_light_start、检测状态信号/detect/traffic_light_stamped以及速度控制信号/control/max_vel

1
2
3
4
5
6
7
8
9
10
11
12
13
14
15
16
17
18
19
20
21
22
23
24
25
26
27
28
if self.pub_image_type == "compressed":
# publishes compensated image in compressed type
self.pub_image_traffic_light = rospy.Publisher('/detect/image_output/compressed', CompressedImage,
queue_size=1)
elif self.pub_image_type == "raw":
# publishes compensated image in raw type
self.pub_image_traffic_light = rospy.Publisher('/detect/image_output', Image, queue_size=1)

if self.is_calibration_mode == True:
if self.pub_image_type == "compressed":
# publishes light image in compressed type
self.pub_image_red_light = rospy.Publisher('/detect/image_output_sub1/compressed', CompressedImage,
queue_size=1)
self.pub_image_yellow_light = rospy.Publisher('/detect/image_output_sub2/compressed', CompressedImage,
queue_size=1)
self.pub_image_green_light = rospy.Publisher('/detect/image_output_sub3/compressed', CompressedImage,
queue_size=1)
elif self.pub_image_type == "raw":
# publishes light image in raw type
self.pub_image_red_light = rospy.Publisher('/detect/image_output_sub1', Image, queue_size=1)
self.pub_image_yellow_light = rospy.Publisher('/detect/image_output_sub2', Image, queue_size=1)
self.pub_image_green_light = rospy.Publisher('/detect/image_output_sub3', Image, queue_size=1)

self.sub_traffic_light_finished = rospy.Subscriber('/control/traffic_light_finished', UInt8,
self.cbTrafficLightFinished, queue_size=1)
self.pub_traffic_light_return = rospy.Publisher('/detect/traffic_light_stamped', UInt8, queue_size=1)
self.pub_parking_start = rospy.Publisher('/control/traffic_light_start', UInt8, queue_size=1)
self.pub_max_vel = rospy.Publisher('/control/max_vel', Float64, queue_size=1)

设定检测状态

这里我们利用python的枚举操作将信号灯检测封装为几个不同状态,根据不同状态特点我们对速度进行相应的控制。

1
2
3
4
5
6
7
self.StepOfTrafficLight = Enum('StepOfTrafficLight',
'searching_traffic_light
searching_green_light
searching_yellow_light
searching_red_light
waiting_green_light
pass_traffic_light')

设定颜色阈值

对红黄绿三色信号灯设定HSL阈值范围,用以对掩膜后的图像进行信号灯的颜色提取,可通过将提取的图像打印到屏幕上以便调整阈值范围。

1
2
3
4
5
6
7
8
9
10
11
12
13
14
15
16
17
18
19
20
self.hue_red_l = rospy.get_param("~detect/lane/red/hue_l", 0)
self.hue_red_h = rospy.get_param("~detect/lane/red/hue_h", 10)
self.saturation_red_l = rospy.get_param("~detect/lane/red/saturation_l", 30)
self.saturation_red_h = rospy.get_param("~detect/lane/red/saturation_h", 255)
self.lightness_red_l = rospy.get_param("~detect/lane/red/lightness_l", 48)
self.lightness_red_h = rospy.get_param("~detect/lane/red/lightness_h", 255)

self.hue_yellow_l = rospy.get_param("~detect/lane/yellow/hue_l", 20)
self.hue_yellow_h = rospy.get_param("~detect/lane/yellow/hue_h", 35)
self.saturation_yellow_l = rospy.get_param("~detect/lane/yellow/saturation_l", 100)
self.saturation_yellow_h = rospy.get_param("~detect/lane/yellow/saturation_h", 255)
self.lightness_yellow_l = rospy.get_param("~detect/lane/yellow/lightness_l", 50)
self.lightness_yellow_h = rospy.get_param("~detect/lane/yellow/lightness_h", 255)

self.hue_green_l = rospy.get_param("~detect/lane/green/hue_l", 46)
self.hue_green_h = rospy.get_param("~detect/lane/green/hue_h", 76)
self.saturation_green_l = rospy.get_param("~detect/lane/green/saturation_l", 86)
self.saturation_green_h = rospy.get_param("~detect/lane/green/saturation_h", 255)
self.lightness_green_l = rospy.get_param("~detect/lane/green/lightness_l", 50)
self.lightness_green_h = rospy.get_param("~detect/lane/green/lightness_h", 255)

格式转换

视频格式是一帧一帧的图像信息,想要对每一帧图像进行处理就要先设置订阅图像的帧速率,根据计算机处理性能来设定帧速率,这里我们设置成10fps。将订阅到图像信息的格式转换成OpenCV库能够处理的格式。代码封装如下:

1
2
3
4
5
6
7
8
9
10
11
12
13
14
def cbGetImage(self, image_msg):
if self.counter % 3 != 0:
self.counter += 1
return
else:
self.counter = 1

if self.sub_image_type == "compressed":
np_arr = np.fromstring(image_msg.data, np.uint8)
self.cv_image = cv2.imdecode(np_arr, cv2.IMREAD_COLOR)
else:
self.cv_image = self.cvBridge.imgmsg_to_cv2(image_msg, "bgr8")

self.is_image_available = True

信号灯提取

《TB3_Autorace之车道线检测》中采用的方法一样,利用颜色阈值对颜色进行提取,返回掩膜之后的图像。

1
2
3
4
5
6
7
8
9
10
11
12
13
14
15
16
17
18
19
20
21
22
23
24
25
26
27
28
29
30
31
32
33
34
35
def fnMaskRedTrafficLight(self):
image = np.copy(self.cv_image)

# Convert BGR to HSV
hsv = cv2.cvtColor(image, cv2.COLOR_BGR2HSV)

Hue_l = self.hue_red_l
Hue_h = self.hue_red_h
Saturation_l = self.saturation_red_l
Saturation_h = self.saturation_red_h
Lightness_l = self.lightness_red_l
Lightness_h = self.lightness_red_h

# define range of red color in HSV
lower_red = np.array([Hue_l, Saturation_l, Lightness_l])
upper_red = np.array([Hue_h, Saturation_h, Lightness_h])

# Threshold the HSV image to get only red colors
mask = cv2.inRange(hsv, lower_red, upper_red)

# Bitwise-AND mask and original image
res = cv2.bitwise_and(image, image, mask=mask)

if self.is_calibration_mode == True:
if self.pub_image_type == "compressed":
# publishes red light filtered image in compressed type
self.pub_image_red_light.publish(self.cvBridge.cv2_to_compressed_imgmsg(mask, "jpg"))

elif self.pub_image_type == "raw":
# publishes red light filtered image in raw type
self.pub_image_red_light.publish(self.cvBridge.cv2_to_imgmsg(mask, "mono8"))

mask = cv2.bitwise_not(mask)

return mask

1

信号灯检测

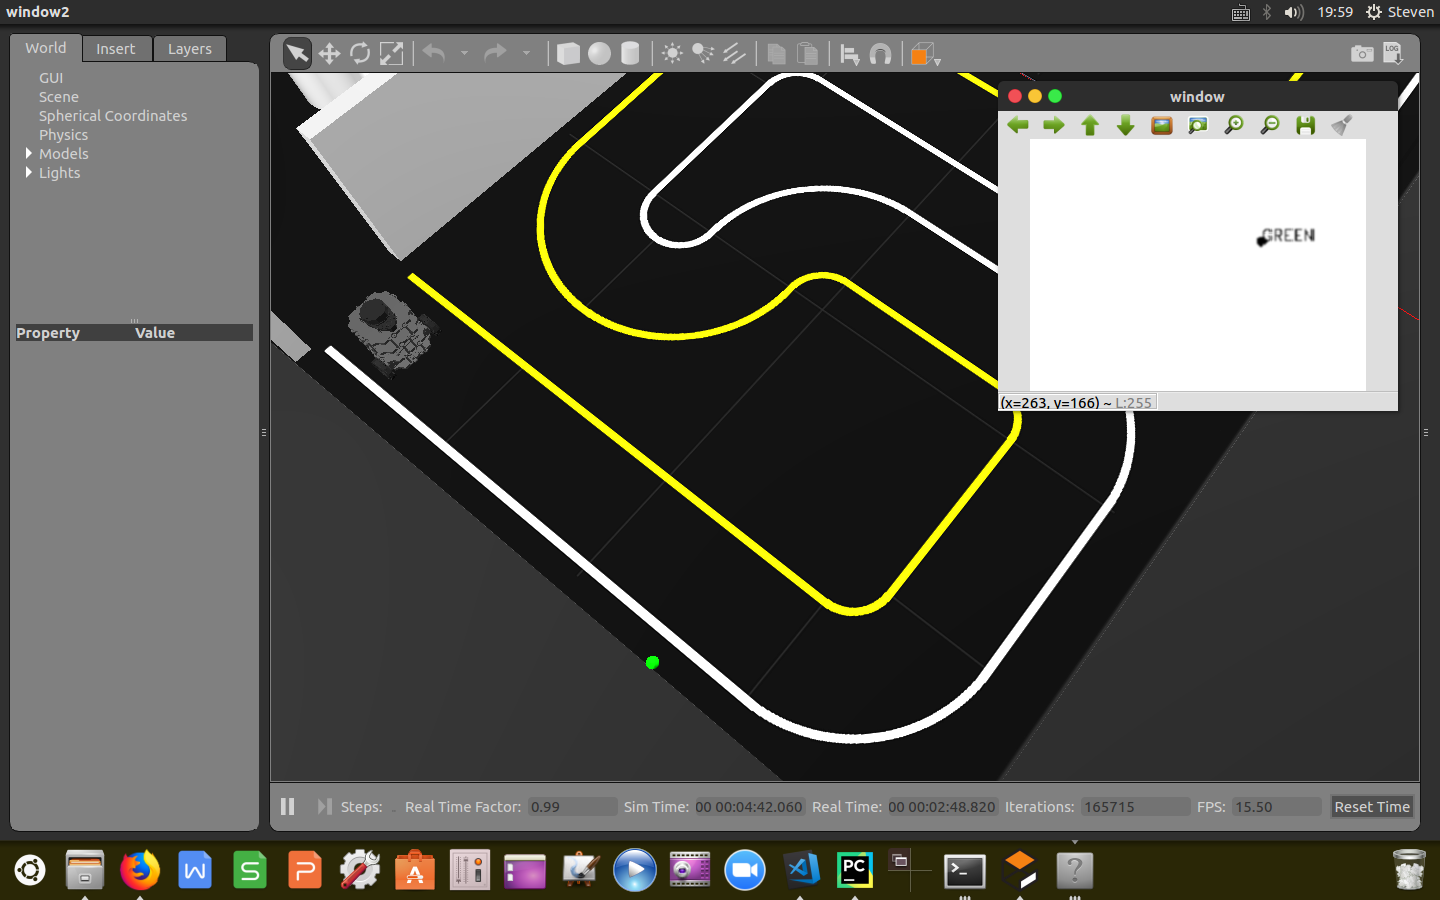
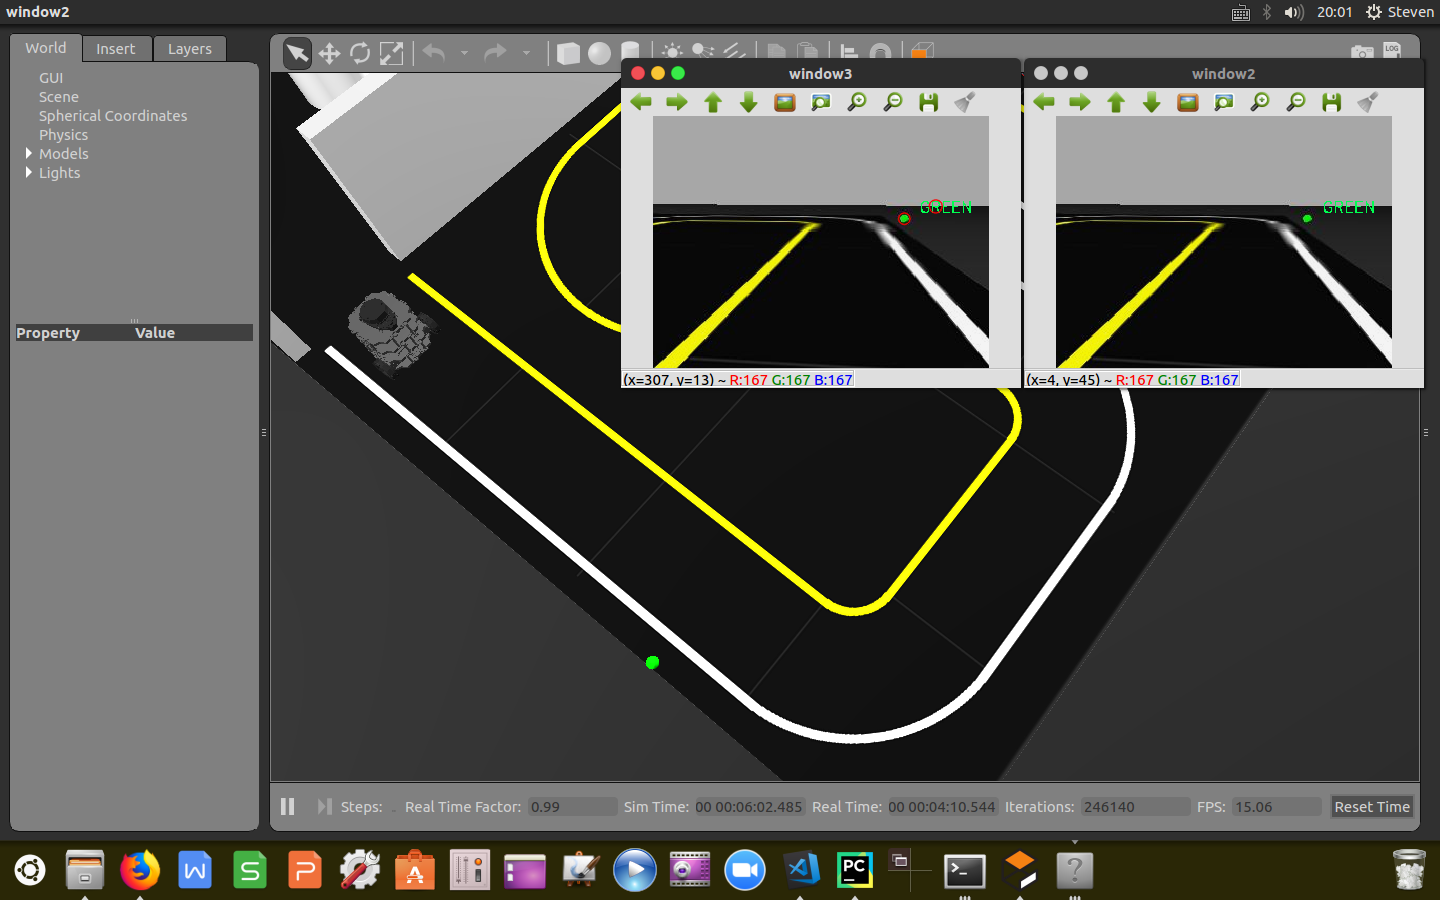
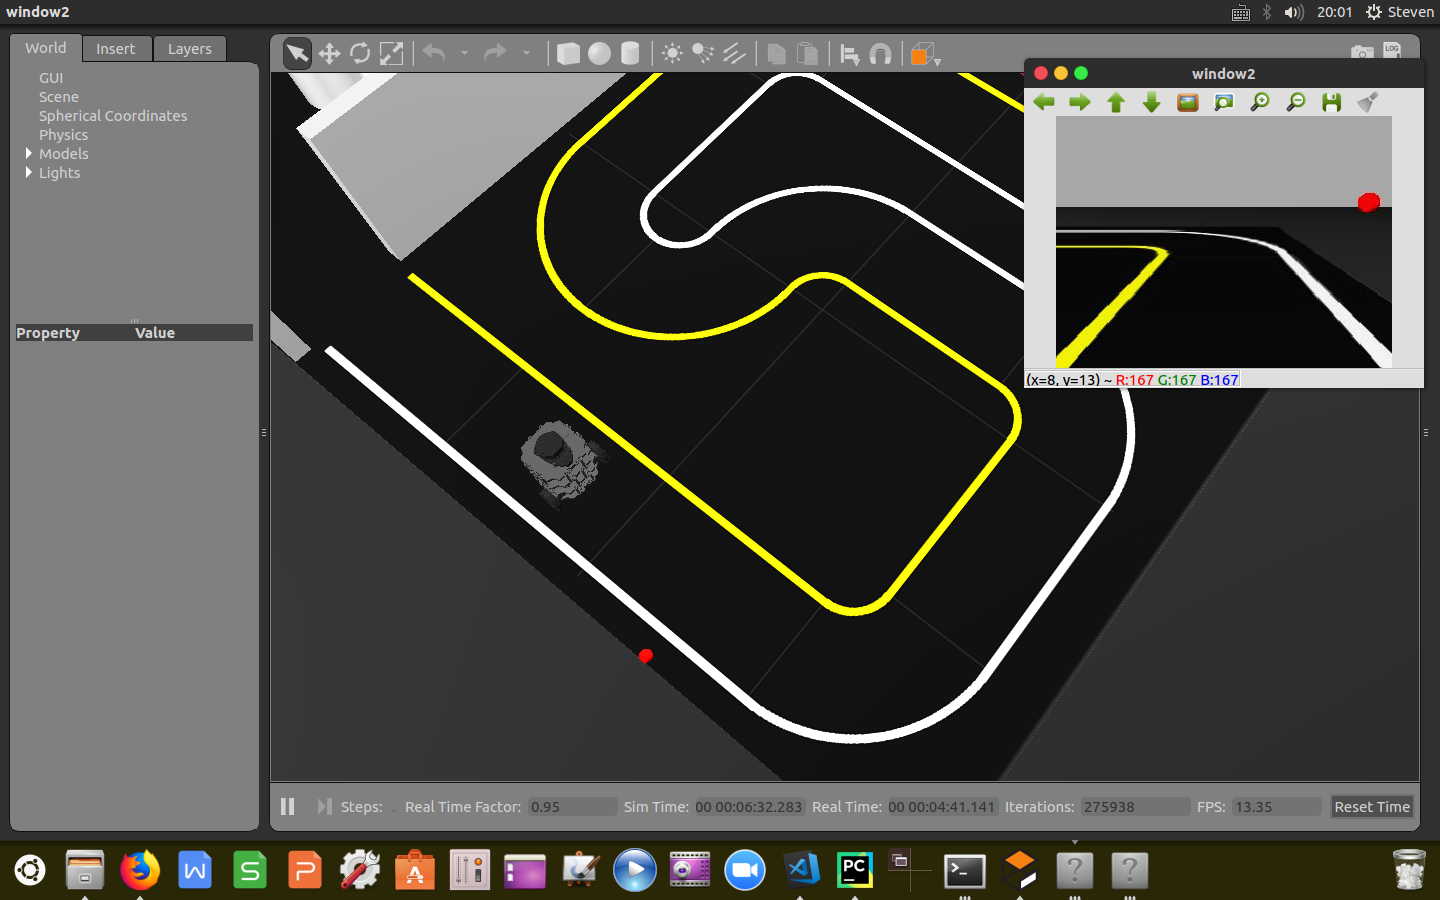
利用OpenCV库集成的cv2.SimpleBlobDetector斑点检测器对图像中的信号灯状态进行检测。Blob分析(Blob Analysis)是对图像中相同像素的连通域进行分析,该连通域称为Blob。Blob分析可为机器视觉应用提供图像中的斑点的数量、位置、形状和方向等信息。
该算法通过参数创建过滤器过滤斑点:通过像素阈值过滤;通过斑点面积过滤;通过圆性(4×pi×area/perimeter**2)过滤;通过凸性(斑点面积/斑点凸包面积)过滤;通过惯性比(Inertia Ratio)过滤,一个形状有多长(圆1,椭圆0-1.直线0)对信号灯进行检测,将检测出的斑点用红色圆包围标识,根据距离信号灯的远近设定区域范围,求出斑点中心坐标,根据斑点是否在设定范围内以及信号灯颜色来指定5个状态status,进而实现减速、停车动作。返回状态编号。代码封装如下:

1
2
3
4
5
6
7
8
9
10
11
12
13
14
15
16
17
18
19
20
21
22
23
24
25
26
27
28
29
30
31
32
33
34
35
36
37
38
39
40
41
42
43
44
45
46
47
48
49
50
51
52
53
54
55
56
def fnFindCircleOfTrafficLight(self, mask, find_color):

status = 0

params = cv2.SimpleBlobDetector_Params()
# Change thresholds
params.minThreshold = 0
params.maxThreshold = 255

# Filter by Area.
params.filterByArea = True
params.minArea = 50
params.maxArea = 600

# Filter by Circularity
params.filterByCircularity = True
params.minCircularity = 0.6

# Filter by Convexity
params.filterByConvexity = True
params.minConvexity = 0.6

det = cv2.SimpleBlobDetector_create(params)
keypts = det.detect(mask)
frame = cv2.drawKeypoints(self.cv_image, keypts, np.array([]), (0, 0, 255),
cv2.DRAW_MATCHES_FLAGS_DRAW_RICH_KEYPOINTS)
col1 = 180
col2 = 270
col3 = 305

row1 = 50
row2 = 170
row3 = 170

for i in range(len(keypts)):
self.point_col = int(keypts[i].pt[0])
self.point_row = int(keypts[i].pt[1])

print(self.point_col, self.point_row)

if self.point_col > col1 and self.point_col < col2 and self.point_row > row1 and self.point_row < row2:
if find_color == 'green':
status = 1
elif find_color == 'yellow':
status = 2
elif find_color == 'red':
status = 3
elif self.point_col > col2 and self.point_col < col3 and self.point_row > row1 and self.point_row < row3:
if find_color == 'red':
status = 4
elif find_color == 'green':
status = 5
else:
status = 6

return status

2

运动控制

将掩膜后的图像进行高斯滤波处理,对于检测绿色信号灯,绿色计数加1;检测黄色信号灯,黄色计数加1;检测红色信号灯,较远距离,红色计数加1,较近距离,停止计数加1(为了避免急停,将检测红灯分为远近两种状态)。根据各个状态计数值,发布max_vel速度控制命令,控制小车根据信号灯指示运动。代码封装如下:

1
2
3
4
5
6
7
8
9
10
11
12
13
14
15
16
17
18
19
20
21
22
23
24
25
26
27
28
29
30
31
32
33
34
35
36
37
38
39
40
41
42
43
44
45
46
47
48
49
50
51
52
53
54
55
56
57
58
59
60
61
62
63
64
cv_image_mask = self.fnMaskGreenTrafficLight()
cv_image_mask = cv2.GaussianBlur(cv_image_mask, (5, 5), 0)

status1 = self.fnFindCircleOfTrafficLight(cv_image_mask, 'green')
if status1 == 1 or status1 == 5:
self.stop_count = 0
self.green_count += 1
else:
self.green_count = 0

cv_image_mask = self.fnMaskYellowTrafficLight()
cv_image_mask = cv2.GaussianBlur(cv_image_mask, (5, 5), 0)

status2 = self.fnFindCircleOfTrafficLight(cv_image_mask, 'yellow')
if status2 == 2:
self.yellow_count += 1
else:
self.yellow_count = 0

cv_image_mask = self.fnMaskRedTrafficLight()
cv_image_mask = cv2.GaussianBlur(cv_image_mask, (5, 5), 0)

status3 = self.fnFindCircleOfTrafficLight(cv_image_mask, 'red')
if status3 == 3:
self.red_count += 1
elif status3 == 4:
self.red_count = 0
self.stop_count += 1
else:
self.red_count = 0
self.stop_count = 0

if self.green_count > 20:
msg_pub_max_vel = Float64()
msg_pub_max_vel.data = 0.12
self.pub_max_vel.publish(msg_pub_max_vel)
rospy.loginfo("GREEN")
cv2.putText(self.cv_image, "GREEN", (self.point_col, self.point_row), cv2.FONT_HERSHEY_DUPLEX, 0.5,
(80, 255, 0))

if self.yellow_count > 12:
msg_pub_max_vel = Float64()
msg_pub_max_vel.data = 0.06 if not self.off_traffic else 0.12
self.pub_max_vel.publish(msg_pub_max_vel)
rospy.loginfo("YELLOW")
cv2.putText(self.cv_image, "YELLOW", (self.point_col, self.point_row), cv2.FONT_HERSHEY_DUPLEX, 0.5,
(0, 255, 255))

if self.red_count > 8:
msg_pub_max_vel = Float64()
msg_pub_max_vel.data = 0.03
self.pub_max_vel.publish(msg_pub_max_vel)
rospy.loginfo("RED")
cv2.putText(self.cv_image, "RED", (self.point_col, self.point_row), cv2.FONT_HERSHEY_DUPLEX, 0.5,
(0, 0, 255))

if self.stop_count > 8:
msg_pub_max_vel = Float64()
msg_pub_max_vel.data = 0.0
self.pub_max_vel.publish(msg_pub_max_vel)
rospy.loginfo("STOP")
self.off_traffic = True
cv2.putText(self.cv_image, "STOP", (self.point_col, self.point_row), cv2.FONT_HERSHEY_DUPLEX, 0.5,
(0, 0, 255))

3
至此,已完成所有信号灯检测工作。实现控制TB3机器人根据信号灯指示完成起停动作。

经验分享

1.blob算法还可以添加通过惯性比(Inertia Ratio)检测因子进行过滤,缺点是处理速度过慢,要对整个区域作逐点扫描。
2.在利用cv2.SimpleBlobDetector检测器对信号灯进行检测之前要对图像进行取反工作,突出斑点。
3.接收图像信息的帧速率要根据主机性能进行设置,切勿设置过慢导致漏帧现象发生。

完整程序源代码:https://github.com/sun-coke/TB3_Autorace

-------------本文结束 感谢阅读-------------
0%